Digital workflow produces 20 natural zirconia and veneer restorations
Case study showing how digital design and 3D-printed models integrate with zirconia crown and veneer fabrication for predictable aesthetic results.
A complete smile rehabilitation combined digital design tools with laboratory techniques to produce 20 restorations: six maxillary anterior crowns and 14 laminate veneers. The case demonstrates how intra-oral scanning, 3D printing, and material selection work together to deliver aesthetic and functional outcomes that match patient expectations.
Digital planning and design transfer
Digital smile design began with intra-oral scans and portrait photographs to establish ideal tooth proportions. The design was completed in DentalCAD software, then printed diagnostic models were used to create a matrix for intra-oral try-in. This step allowed the aesthetic plan to be evaluated and refined before laboratory fabrication began.
Materials and fabrication technique
Six maxillary anterior crowns were milled from KATANA Zirconia YML in shade NW, then veneered with CERABIEN ZR porcelains. Internal staining with CERABIEN ZR internal stains created natural depth between porcelain layers. Fourteen laminate veneers were fabricated from Noritake Super Porcelain EX-3 using refractory dies, a technique that minimizes tooth structure removal. Master and alveolar models with removable dies were produced using 3D printing to ensure precise fit and full gingival information.
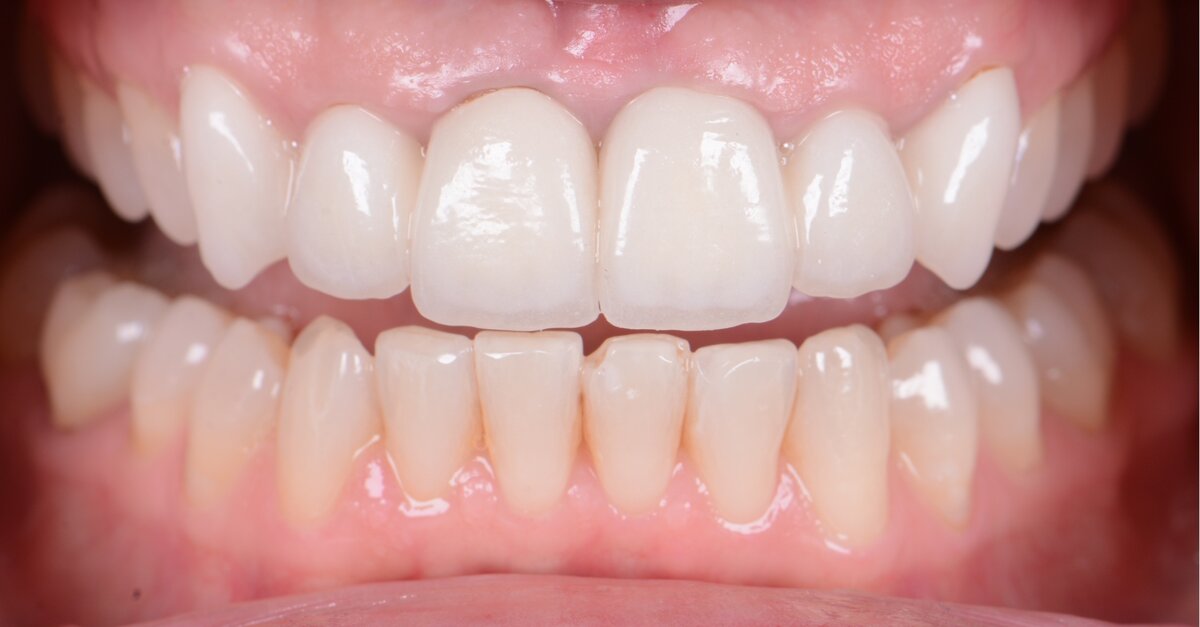
Fit verification and clinical outcome
After laboratory completion, restorations were positioned on printed master models to verify passive fit and interproximal contacts before clinical try-in. Veneers were cemented with adhesive resin composite protocol, and crowns with opaque glass ionomer. One month after placement, excellent gingival health and a harmonious smile were recorded.
Frequently asked questions
What zirconia material was used for the maxillary anterior crowns?
KATANA Zirconia YML in shade NW was selected for the six maxillary anterior crown frameworks. The material was sintered at 1,550 degrees Celsius in a high-temperature furnace, then veneered with CERABIEN ZR porcelains.
How does the refractory die technique benefit tooth preparation?
The refractory die technique allows fabrication of extremely thin-walled restorations and supports minimal tooth structure removal. This approach is particularly suitable for previously untreated teeth without major defects.
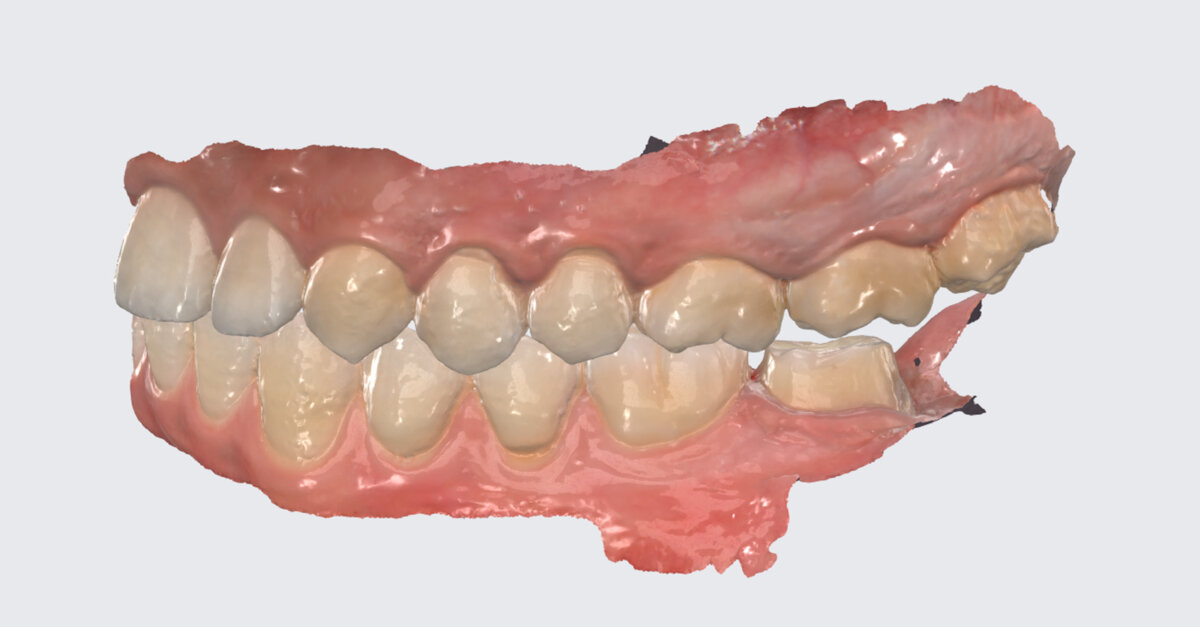
What role did 3D printing play in this case?
3D printing produced master and alveolar models with full gingival information and removable dies, which are essential for accurate and aesthetic restorations. Diagnostic models were also printed to create a matrix for intra-oral try-in before final fabrication.
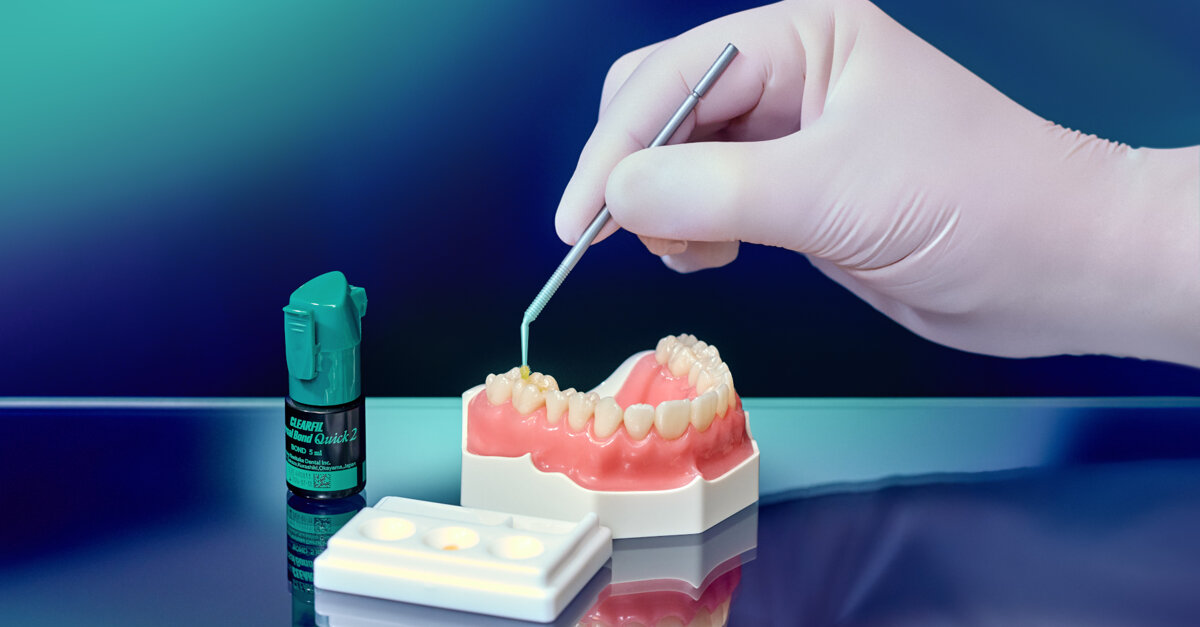
How were the veneers and crowns cemented?
Laminate veneers were cemented using an adhesive protocol with resin composite. Crowns were cemented with opaque glass ionomer cement to prevent discoloration from the prepared tooth.
When is digital smile design most useful in restoration planning?
Digital smile design is effective for analyzing and planning a new smile by establishing ideal tooth proportions and shapes based on intra-oral scans and portrait photographs. It allows the aesthetic outcome to be evaluated and refined before laboratory work begins.